
AOP3D tech
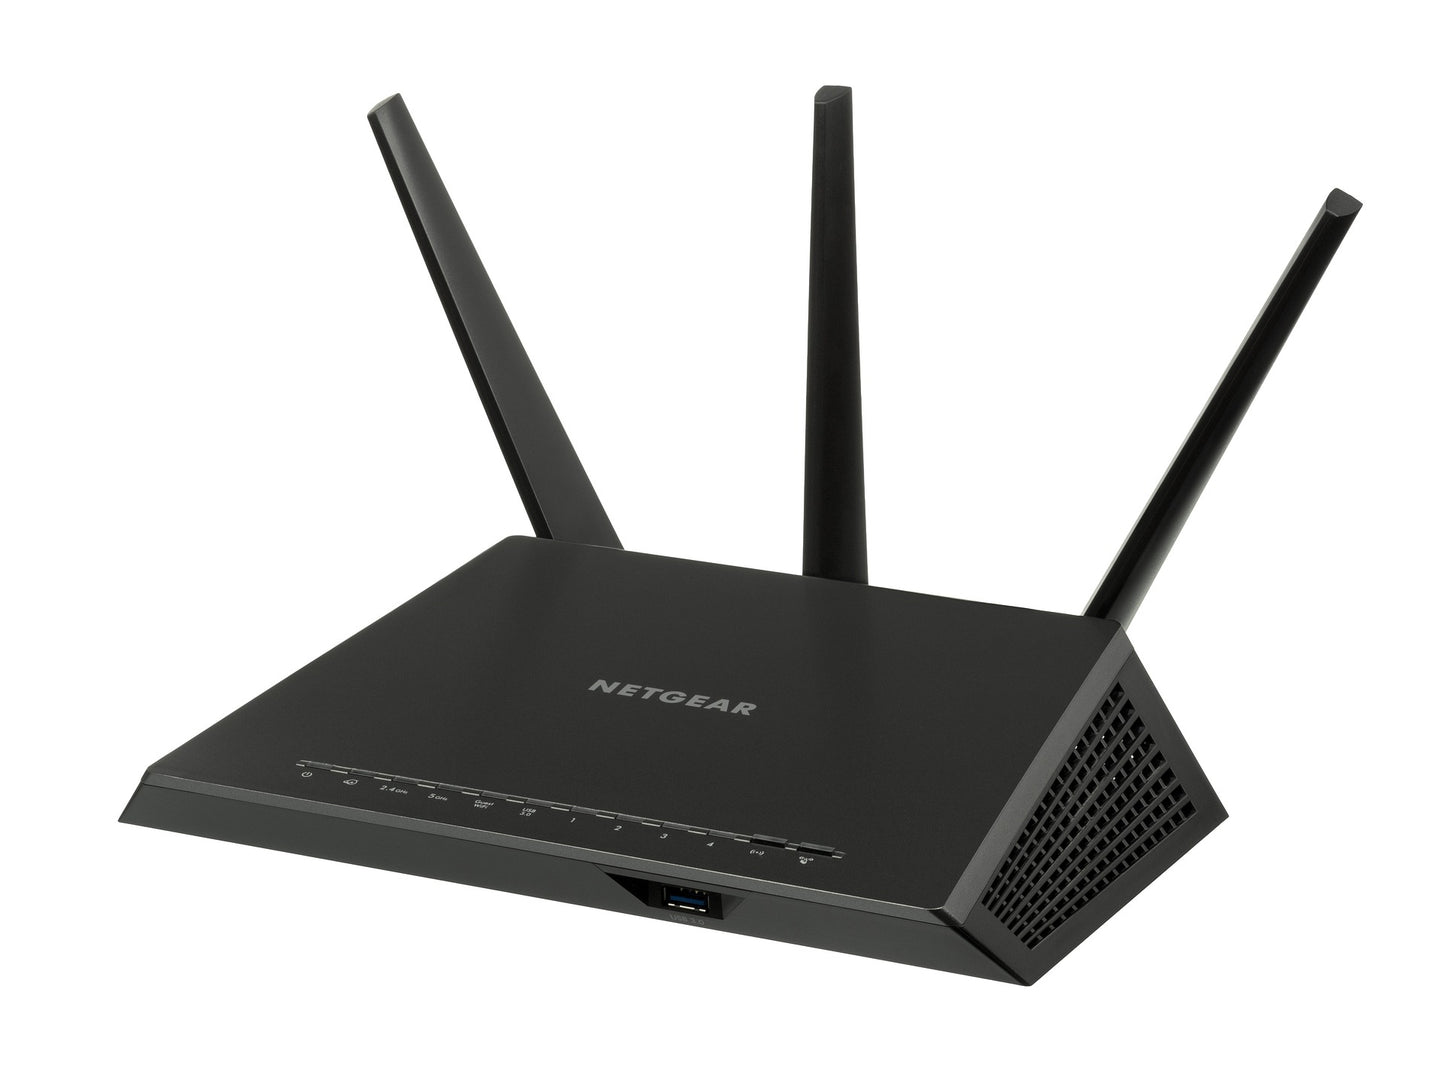
How to set up a netgear wifi range extender step by step guide by ( aop3d tech )
How to set up a netgear wifi range extender step by step guide by ( aop3d tech )
Regular price
$0.00 USD
Regular price
Sale price
$0.00 USD
Unit price
per
Shipping calculated at checkout.
Couldn't load pickup availability
Setting up a Netgear WiFi extender is generally a straightforward Below are the  step-by-step instructions to guide you through the setup process. Keep in mind that specific models may have slight variations, but the general procedure should be similar.
**Step 1: Prepare for Setup**
1. Place your Netgear WiFi extender in a location where it can receive a strong and stable WiFi signal from your main router. Make sure it's within range of your existing WiFi network.
2. Plug the extender into a power outlet and turn it on.
3. Grab your computer or mobile device, which you'll use for the setup process. Ensure it's connected to the WiFi network you want to extend (your main router's WiFi network).
**Step 2: Access the Extender's Web Interface**
1. On your computer or mobile device, open a web browser (e.g., Google Chrome, Mozilla Firefox, Safari).
2. In the address bar, type in the default web address for Netgear extenders, which is often "http://www.mywifiext.net/" or "http://www.mywifiext.com/".
3. Press Enter to access the extender's web interface.
**Step 3: Create a Netgear Account (If Required)**
1. If you're setting up your extender for the first time, you may be prompted to create a Netgear account. Follow the on-screen instructions to create one.
**Step 4: Begin the Setup Process**
1. After accessing the web interface, you should see the Netgear extender's setup wizard.
2. The wizard will scan for available WiFi networks. When it finds your main router's network, click on it to select it.
3. If your main router's network has a password, enter it when prompted.
**Step 5: Configure the Extender Settings**
1. Now, you'll be asked to set up the extended WiFi network (SSID) and password. You can either use the same network name and password as your main router or give it a different name for identification.
2. Follow the on-screen instructions to complete the setup process. You may have to wait a few minutes while the extender applies the new settings.
3. Once the setup is complete, the extender will reboot, and you should see a confirmation message.
**Step 6: Connect to the New Extended Network**
1. After the extender has rebooted, reconnect your computer or mobile device to the new extended WiFi network using the SSID and password you configured earlier.
2. Test the extended network's signal by moving to areas where the original WiFi signal was weak. Your devices should now connect to the extender's network with a stronger signal.
Congratulations! You've successfully set up your Netgear WiFi extender, and now you should have improved WiFi coverage in areas that were previously experiencing weak signals.
Please note that these steps are general guidelines, and the actual steps may vary depending on your Netgear extender model or any firmware updates. Always refer to the specific setup instructions provided by Netgear for your particular model if you encounter any issues during the setup process.